|
Reptile terrarium rock wall background
On this web page you'll find a tutorial on how to build a fake rock wall background for a reptile terrarium. This process was inspired, in part, from the open discussion forums found on Beardeddragon.org, and the community on Youtube!!! Be sure to check out the video below which details the entire process from start to finish. There is a slight safety precaution. If you're building this faux rock for a creature that does not have expert climbing skills you may want to avoid creating platforms or ledges where a lizard such as a bearded dragon could get too high and thus risk the danger of falling. The "hide" which also acts as a platform or basking spot featured in this structure is built very low to the ground providing a safe climbing/basking spot.
The first thing you want to do is research how you want your reptile terrarium background to look. The Internet provides a wealth of nature pictures, as well as ideas borrowed from web sites such as the one you're on right now!
Because of this I made the design slightly smaller so as to be able to eventually fit the structure back into the cage once it was done. This amounted to around 1/8 to 1/4 inch in all directions. 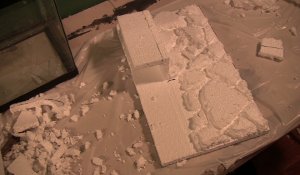
I began by using a sheet of polystyrene to create this reptile terrarium. Next, it was a process of breaking off pieces of polystyrene in order to create the shapes of rocks. I glued them down with an adhesive called loctite's Power grab. I then proceeded to create the hide which consisted of a basic L shaped design. After the basic hide was created I also glued rock shapes onto the L shape hide. Occasionally I made sure I put the structure back into what was to be a reptile terrarium -just to make sure it fit.
Reptile habitats need some strength to hold up to the continued abuse of whatever lizard or snake you have a living in the cage. The more grout you apply the stronger your reptile terrarium will be. 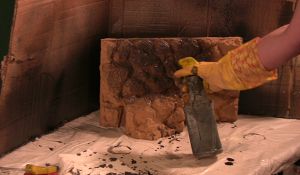
Next, you want to decide whether or not you want to paint your faux rock construction. I decided to use a dark gray color to enhance a jungle themed terrarium. What I did was purchase a dollar store spray water bottle and mix together some gray acrylic paint with water. This allowed me to paint the structure very quickly. The video above on how to create your own reptile terrarium fake rock back ground details this process.
|


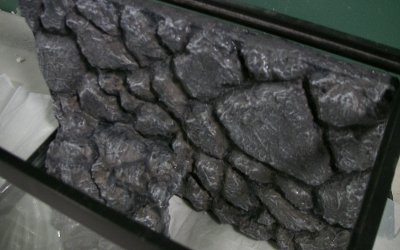
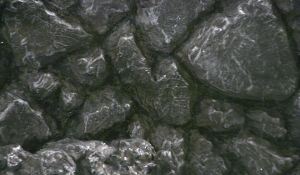 This particular faux rock construction could be used for fake rock paneling or some other purpose other than the back of reptile habitats. These structures are not the strongest of structures and cannot support the weight of a person, they are really meant for lightweight reptiles and other critters.
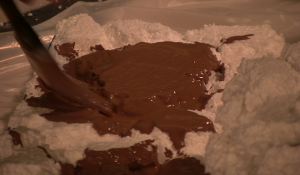 Then I proceeded to apply 2 to 3 layers of non sanded grout. The grout is the same stuff in between your bathroom tiles, and its primary purpose is to strengthen the structure; but it also contributes to the look -creating a more natural faux rock look.
 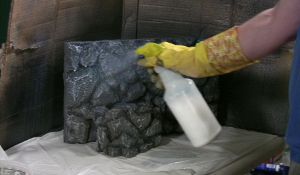 As a last stage, you want to use a nontoxic sealant to do several things. One, a nontoxic sealant will keep your reptile from inadvertently ingesting anything harmful. The sealent will also make your life much easier, as the structure is much easier to clean if it's got a barrier of sealant.